One of the most important skills in a chocolatier’s arsenal – tempering. Here are the essentials of how to temper chocolate from one of our resident chocolate experts.
Ah chocolate – the thing that makes life all that much sweeter. A block of chocolate is a simple pleasure. But when it comes to making intricate chocolate desserts or delicate chocolate truffles in a crispy shell, things get a little more complicated. That’s when the skill of tempering comes in. Head Pastry Chef at The Star Gold Coast Herbert Tossmann knows a thing or two about chocolate. Here he shares his tips on how to temper chocolate.

Why temper chocolate?
Tempering is an essential skill for chefs that work with chocolate – it’s the process that allows them to create perfect, glossy chocolates with no unsightly ‘blooming’. When you heat chocolate, it can become crumbly and form unsightly white mottling (blooms). Tempered chocolate, however, stays luscious in texture and is easier to mould into a crispy, snappable shell.

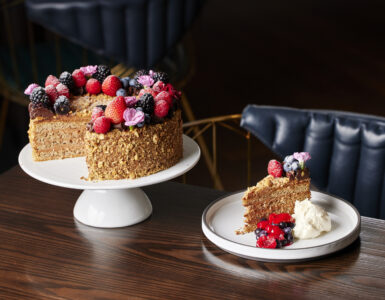
For Herbert, the hand-made pralines and truffles he and his team create for The Star Gold Coast are the ultimate example of the chocolate tempering technique. “The thin crisp shell is always a testament to correct tempering and the soft-centred filling – usually flavoured with a fruit or liquor – is like an explosion in your mouth.”
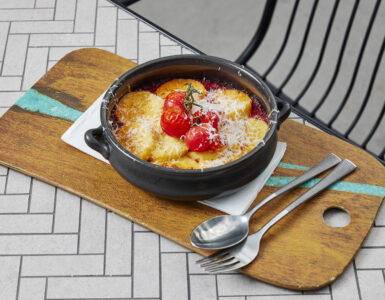
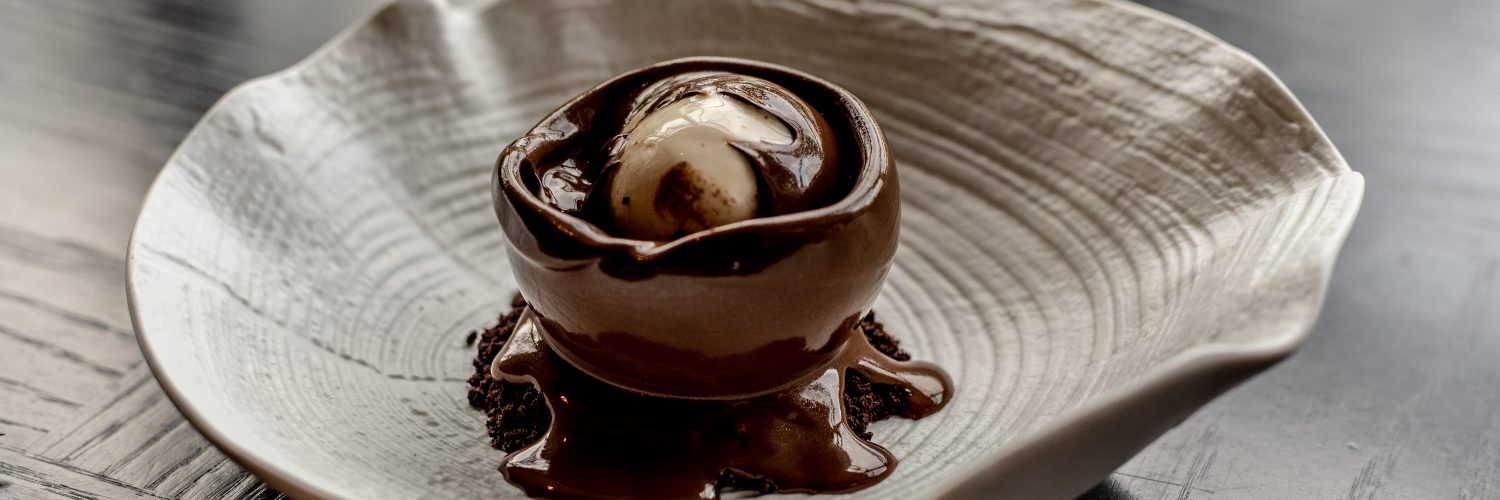
If you’ve dined with us at The Star Sydney (or drooled over our socials), you might have spotted one of Sydney’s best chocolate desserts – the warm chocolate couverture ganache at Black Bar & Grill. The delicate chocolate shell that melts when molten couverture chocolate is poured over it at your table: that’s a result of expert tempering.
Herbert’s five steps for tempering chocolate
1. Start with the right chocolate
“First of all, not all chocolate needs to be tempered,” says Herbert. It’s only couverture chocolate that needs to be tempered, he explains, which is made with cocoa butter rather than vegetable fat. It’s the fat acids in cocoa butter that need to be heated and treated.

2. Figure out the best temperature
Tempering is all about bringing the chocolate up to melting point before cooling it back down to a soft, workable state. But different chocolates demand different temperatures. “White, blond and milk chocolate need to be brought down to a cooler temperature than dark chocolate,” Herbert explains.
Generally speaking, dark chocolate should be brought back to around 31°C–32°C; milk chocolate to 29°C–30°C; and white chocolate to around 28°C–29°C. Thankfully these days the correct temperature is often right there on the packet. “Most chocolate manufactures now have a tempering graph on their packaging,” Herbert explains.
“This information will tell you exactly to what temperature to melt the chocolate; what temperature to cool it down to; and at what temperature to hold the chocolate to work with.”

3. Choose your method – classic or seeding
There are two popular methods for tempering chocolate – method #1, the classic method and method #2, the seeding method. The former is what Herbert learned as an apprentice in Austria, when he was taught the secrets to making chocolate by a master pastry chef. The latter is easier to try in your kitchen at home.
For both, a cooking thermometer is invaluable.
For the classic way:
- Heat water in a saucepan to a simmer, then remove it from the heat.
- Place chopped chocolate in a bowl and place it over water the saucepan (making sure the bottom of the bowl isn’t submerged). Melt the chocolate to around 48°C, continuously stirring.
- Pour the melted chocolate onto a marble slab and consistently work it with a steel spatula or palette knife until it reaches 28°C.
- Then, returning the chocolate back to the bowl, warm it back up to 31°C and hold it there as you work with it (if you’re cooking with dark chocolate; white, and milk chocolate needs to be about 2°C cooler than that).

For the seeding method:
- Heat water in a saucepan to a simmer, then remove it from the heat.
- Place 2/3 of the chocolate in a bowl and suspend it over water over the saucepan until it melts and reaches 48°C.
- Add the remaining 1/3 of finely chopped chocolate (if it is a block you’re using instead of buttons) to the melted chocolate and stir until all pieces have melted and the chocolate reaches the optimal temperature between 28°C–31°C.
4. Test your tempering
Once your melted chocolate has been cooled back down to the perfect temperature, it’s time to check if you’ve achieved temper.
“Always check with a clean palette knife if the chocolate is properly tempered, by dipping the tip of the knife into the chocolate and allowing it to set,” Herbert says. “If the chocolate is setting without any fat blooms, we can be sure that the tempering was successful.”
5. Work it
Once you know your chocolate is tempered, it’s time to dip, mould and shape it to your will. While you work, the chocolate needs to stay at a malleable temperature. Try keeping the bowl of hot water nearby, so you can pop the chocolate back on top if the temperature dips. From here, it’s just a matter of creating your own showstopping chocolate creation.

We thought you might also like…